> ## Documentation Index
> Fetch the complete documentation index at: https://documentation.suby.fi/llms.txt
> Use this file to discover all available pages before exploring further.
# Quickstart
> Accept your first payment in under 5 minutes.
This guide walks you through enabling a payment method, creating a product, and collecting your first payment.
## Before you begin
Make sure you have a Suby account. If not, [sign up here](https://app.suby.fi/).
New accounts go through a quick review before going live. [Learn more about the review process](/v2/docs/merchants/account-review-process).
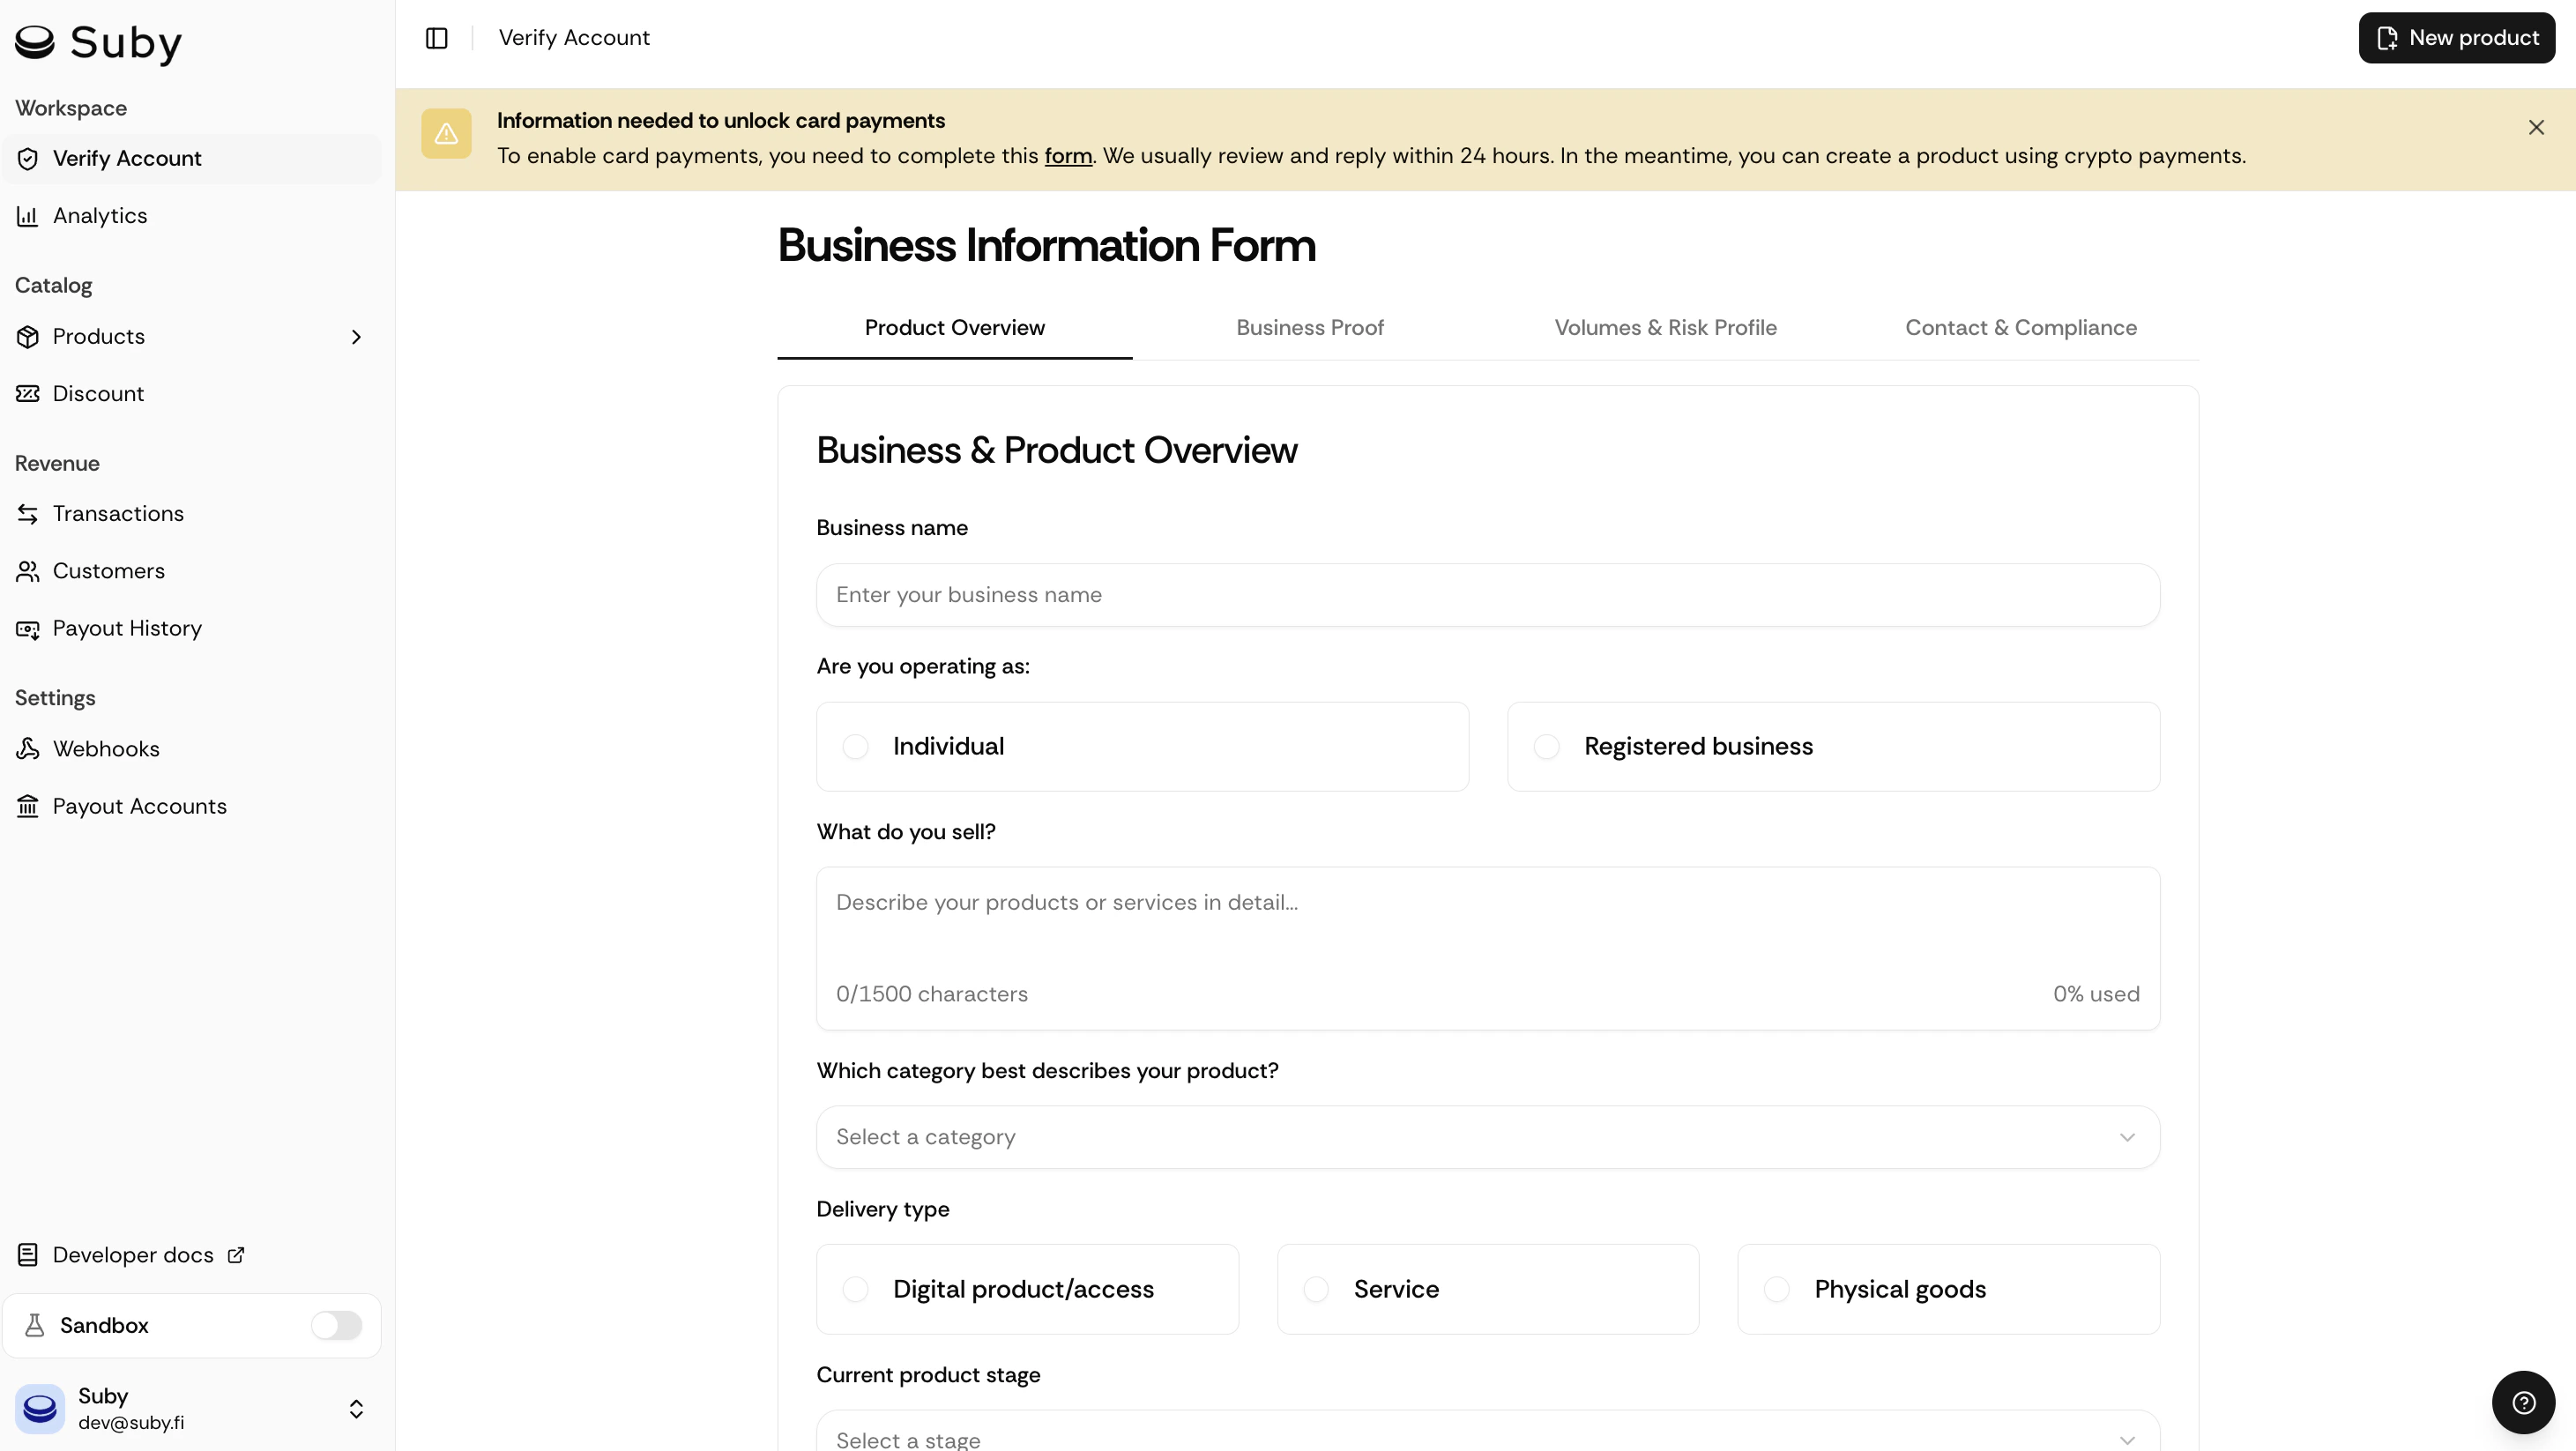
## Step 1: Enable a payment method
Suby supports two payment methods. You can enable one or both.
Visa, Mastercard, Amex, and all major cards. Higher conversion rates, automatic payouts, supports one-time payments and subscriptions.
Reviews in 24h: [Apply for card payments](https://app.suby.fi/)
USDC, USDT, ETH, SOL, and BNB. Go live in minutes, accept worldwide, non-custodial, funds go directly to your wallet.
Active by default: [Enable stablecoin payments](https://app.suby.fi/)
 ## Step 2: Create a product
Everything is configured in one place. From your [dashboard](https://app.suby.fi/), click **Create product** and set up:
* **Name**: what you're selling (e.g. "Pro Plan", "Premium Community", "Design Templates")
* **Billing type**: one-time or recurring (monthly / yearly)
* **Price**: in fiat (USD, EUR...)
* **Integration**: how customers get access after paying (PayLink, API, Discord, or Telegram)
You can create multiple products with different billing types, prices, and integrations, for example a monthly plan and a yearly plan.
## Step 3: Choose your integration
The fastest way to start and the best option for testing or accepting payments without writing any code. Generate a checkout link and share it anywhere: your website, a Discord message, an email, a bio link.
1. From your product page, click **Generate PayLink**
2. Copy the link
3. Share it: your customers can pay immediately
PayLinks can be combined with the API for more complex flows: use PayLinks for quick sales and the API for subscription management or custom logic.
[Learn more about PayLinks](/v2/docs/features/paylinks)
Full control over the checkout experience. Best for SaaS, e-commerce, and digital sellers who need custom checkout flows, webhook-driven access control, or tight backend integration.
1. Go to **Settings → API Keys** and generate your API key
2. Authenticate your requests with the key
3. Call the [Checkout Sessions endpoint](/v2/api-reference/introduction) to create a session
```bash theme={null}
curl -X POST https://api.suby.fi/v1/checkout/sessions \
-H "Authorization: Bearer YOUR_API_KEY" \
-H "Content-Type: application/json" \
-d '{
"product_id": "prod_xxx",
"customer_email": "user@example.com",
"success_url": "https://yourapp.com/success",
"cancel_url": "https://yourapp.com/cancel"
}'
```
[Full API reference](/v2/api-reference/introduction)
Best for communities and creators who sell access to a Discord server or specific roles. Suby grants and revokes roles automatically when a payment goes through, a subscription renews, or a customer cancels, no manual work required.
[Full Discord integration guide](/v2/guides/discord/overview)
Best for creators who sell access to a Telegram group or channel. Suby manages access automatically on payment, renewal, and cancellation, no bots to configure manually.
[Full Telegram integration guide](/v2/guides/telegram/overview)
## Step 4: Set up payouts
Before you can receive money, configure where you want to be paid.
1. Go to **Settings → Payouts**
2. Choose your payout method: bank account, Venmo, PayPal, or stablecoins
3. Enter your details and save
Payout fees: +1% for bank and stablecoin payouts. Venmo and PayPal are charged at their standard rates.
## You're live
Once your account review is complete, switch to live mode from **Settings → General** and start collecting payments.
Endpoints, authentication, webhooks.
Gate access to roles and channels automatically.
Unlock groups and channels on payment.
Reach us on WhatsApp, Telegram, Discord, or email, whatever works for you.
## Step 2: Create a product
Everything is configured in one place. From your [dashboard](https://app.suby.fi/), click **Create product** and set up:
* **Name**: what you're selling (e.g. "Pro Plan", "Premium Community", "Design Templates")
* **Billing type**: one-time or recurring (monthly / yearly)
* **Price**: in fiat (USD, EUR...)
* **Integration**: how customers get access after paying (PayLink, API, Discord, or Telegram)
You can create multiple products with different billing types, prices, and integrations, for example a monthly plan and a yearly plan.
## Step 3: Choose your integration
The fastest way to start and the best option for testing or accepting payments without writing any code. Generate a checkout link and share it anywhere: your website, a Discord message, an email, a bio link.
1. From your product page, click **Generate PayLink**
2. Copy the link
3. Share it: your customers can pay immediately
PayLinks can be combined with the API for more complex flows: use PayLinks for quick sales and the API for subscription management or custom logic.
[Learn more about PayLinks](/v2/docs/features/paylinks)
Full control over the checkout experience. Best for SaaS, e-commerce, and digital sellers who need custom checkout flows, webhook-driven access control, or tight backend integration.
1. Go to **Settings → API Keys** and generate your API key
2. Authenticate your requests with the key
3. Call the [Checkout Sessions endpoint](/v2/api-reference/introduction) to create a session
```bash theme={null}
curl -X POST https://api.suby.fi/v1/checkout/sessions \
-H "Authorization: Bearer YOUR_API_KEY" \
-H "Content-Type: application/json" \
-d '{
"product_id": "prod_xxx",
"customer_email": "user@example.com",
"success_url": "https://yourapp.com/success",
"cancel_url": "https://yourapp.com/cancel"
}'
```
[Full API reference](/v2/api-reference/introduction)
Best for communities and creators who sell access to a Discord server or specific roles. Suby grants and revokes roles automatically when a payment goes through, a subscription renews, or a customer cancels, no manual work required.
[Full Discord integration guide](/v2/guides/discord/overview)
Best for creators who sell access to a Telegram group or channel. Suby manages access automatically on payment, renewal, and cancellation, no bots to configure manually.
[Full Telegram integration guide](/v2/guides/telegram/overview)
## Step 4: Set up payouts
Before you can receive money, configure where you want to be paid.
1. Go to **Settings → Payouts**
2. Choose your payout method: bank account, Venmo, PayPal, or stablecoins
3. Enter your details and save
Payout fees: +1% for bank and stablecoin payouts. Venmo and PayPal are charged at their standard rates.
## You're live
Once your account review is complete, switch to live mode from **Settings → General** and start collecting payments.
Endpoints, authentication, webhooks.
Gate access to roles and channels automatically.
Unlock groups and channels on payment.
Reach us on WhatsApp, Telegram, Discord, or email, whatever works for you.