

Haven't created a product yet?
Follow the Quickstart guide to set up your first product in under 2 minutes.
Setup
Connect your Discord account
Connect your Discord account to Suby so the bot can manage roles and access automatically.
Select a server & invite the bot
Choose the Discord server you want to connect, then invite the Suby bot to your server when prompted.
Choose a paid role & reminder channel
Select the paid role users will receive after a successful payment, and configure a reminder channel for crypto subscribers.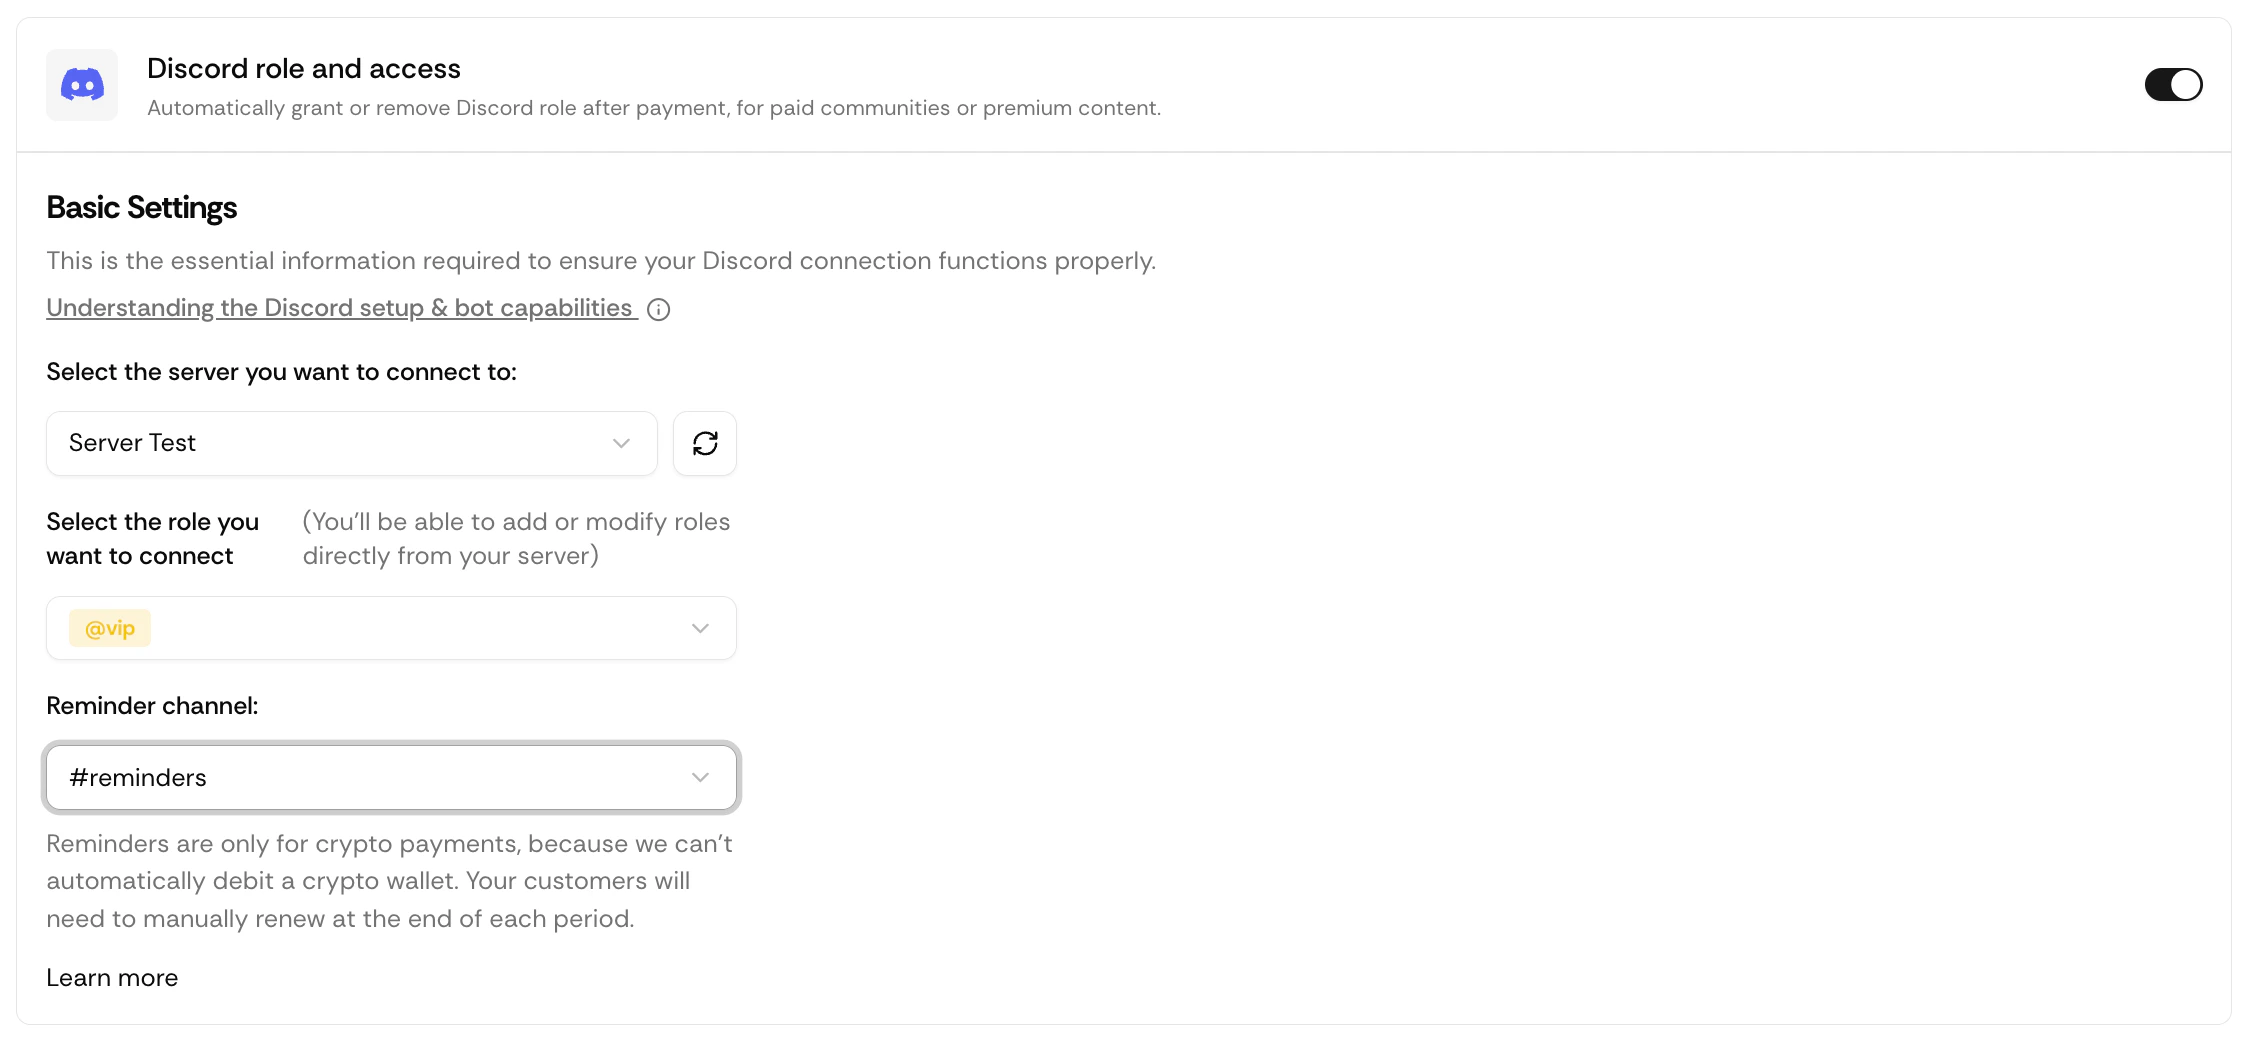
The reminder channel is only required if you accept crypto payments. It is where Suby sends renewal reminders to members before their access period expires.
Updating Your Configuration
If you need to change the paid role or reminder channel after publishing, you can do it directly from Discord using Suby bot slash commands, no need to go back to the dashboard.Slash Command Reference
Full list of available commands for managing your Discord integration.