Every product on Suby has a hosted checkout page. When a customer clicks your PayLink or is redirected via a Checkout Session, they land on this page to complete their payment.
checkoutlight

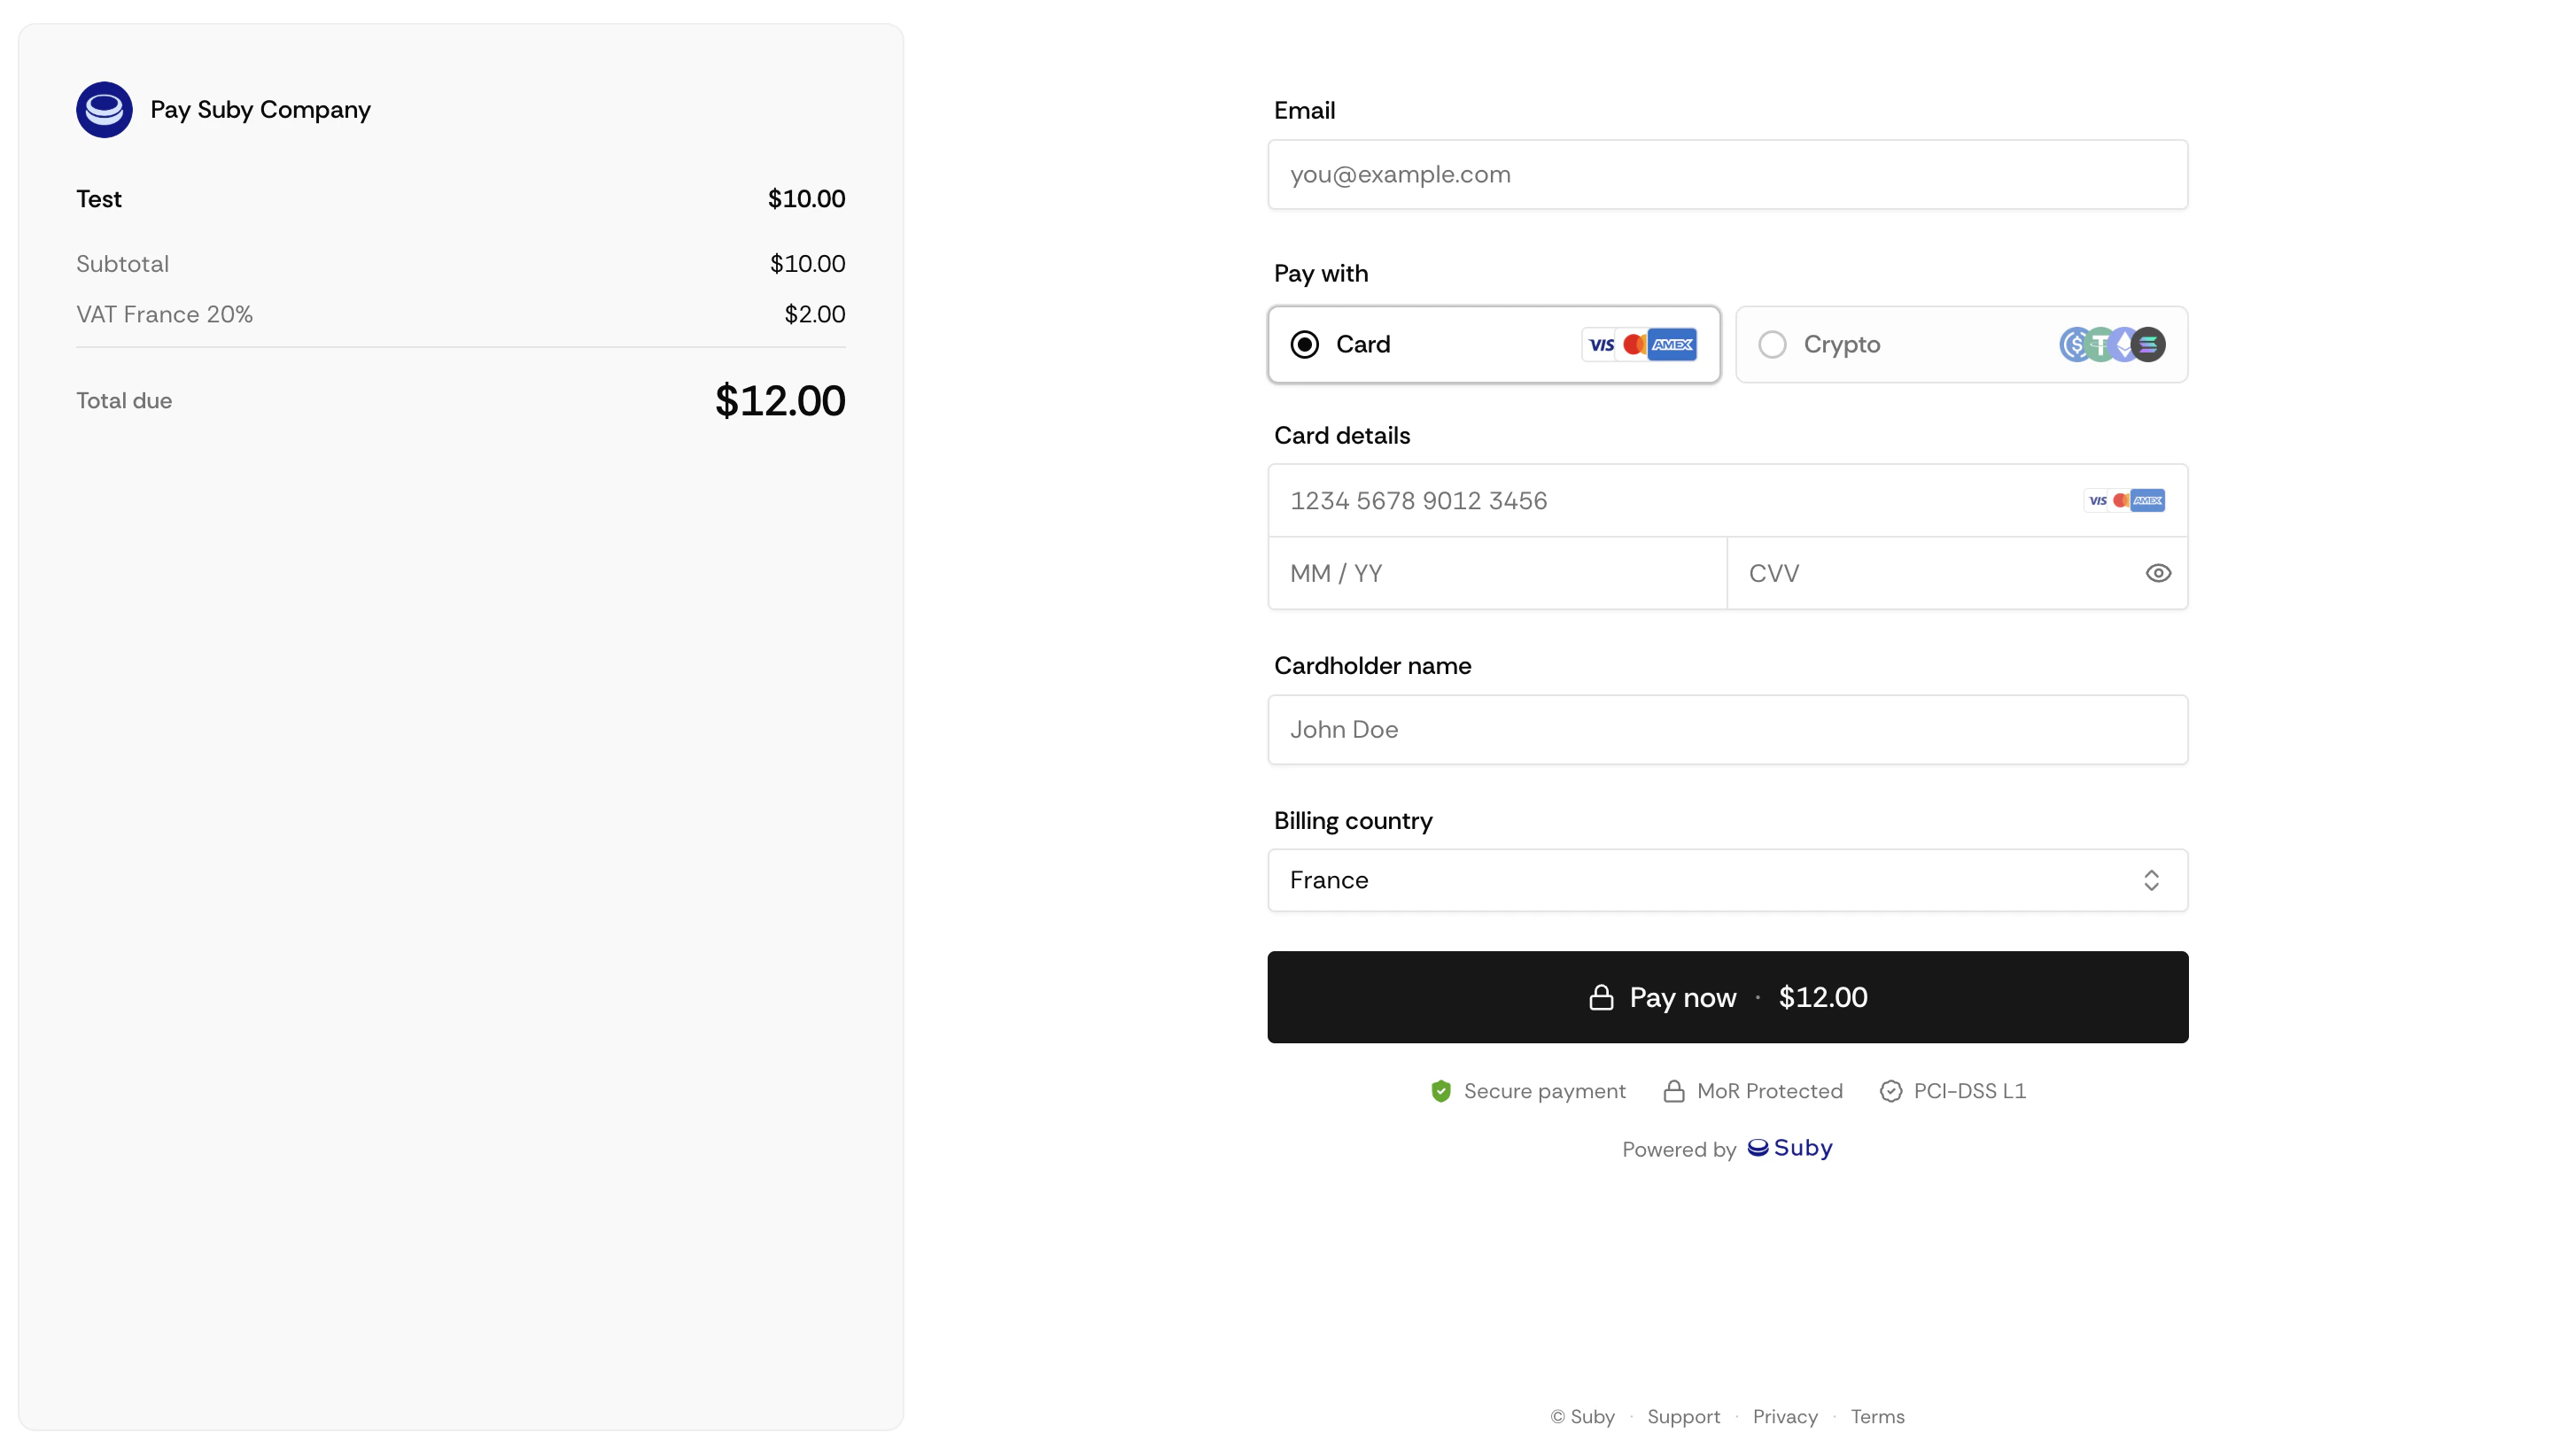
What the Checkout Includes

Banner

Upload a custom banner image to brand your checkout page.

Product Name & Description

Displayed prominently at the top. Supports plain text.

Payment Methods

Cards, Apple Pay, Google Pay, bank account, and stablecoins, displayed automatically based on what you have enabled.

Order Summary

Price, applicable taxes calculated in real time based on the customer’s location, and total before confirmation.

Setting Up Your Checkout

1

Go to your product

Open the product in your dashboard and click New product.
2

Customize appearance

Upload a banner image and fill in your product name and description.
3

Save

Changes apply immediately to your live checkout.

After Payment

Once a customer completes payment, they are shown a default Suby confirmation page with their order details.
Custom success pages are not supported at this time. If you need to trigger a post-payment action in your own app, use webhooks, listen for payment.succeeded or subscription.created and redirect or provision access from your backend.

Webhook Reference

Full list of events and payload structure.

Via API

When creating a Checkout Session via the API, pass a success_url to redirect the customer to your own page after payment.
curl -X POST https://api.suby.fi/v1/checkout/sessions \
  -H "Authorization: Bearer YOUR_API_KEY" \
  -H "Content-Type: application/json" \
  -d '{
    "product_id": "prod_xxx",
    "customer_email": "user@example.com",
    "success_url": "https://yourapp.com/success",
    "cancel_url": "https://yourapp.com/cancel"
  }'

Full API Reference

Endpoints, parameters, and response objects for Checkout Sessions.